
Sewing Machine Terminology Explained: From Bobbin to Presser Foot (and Beyond)

Sewing Machine Terminology Explained
Table of Contents 👇🏻(Show)
If you’re just stepping into the world of sewing, you might feel overwhelmed by the many unfamiliar parts and technical terms related to sewing machines. But don’t worry! This guide breaks down every important part of a sewing machine in plain, simple language. Understanding these terms will not only boost your confidence but also make your sewing experience smoother, safer, and more enjoyable.
Sewing machine terminology
1. Bobbin
The bobbin is a small metal or plastic spool that holds the bottom thread. It is placed in the lower part of the sewing machine and works together with the upper thread to create a secure stitch. Bobbins need to be wound with thread before sewing and inserted correctly for even stitches.
2. Bobbin Case
The bobbin case holds the bobbin in place. It regulates the tension of the lower thread. In front-load machines, the case is removable, while in top-load machines, it’s often built into the machine.
3. Bobbin Winder
This component winds thread onto an empty bobbin. It’s usually located on the top right side of the machine. You place the bobbin on the winder spindle, thread it properly, and then activate the winding function.
4. Spool Pin
The spool pin holds the spool of top thread. It may be positioned vertically or horizontally depending on your machine’s design. The thread from the spool goes through various guides before reaching the needle.
5. Thread Guide
These are hooks or loops that direct the top thread from the spool pin to the needle. They ensure the thread travels smoothly and doesn’t tangle while sewing.
6. Take-Up Lever
The take-up lever pulls thread from the spool and helps feed it to the needle. It moves up and down with the needle. It must be threaded correctly, or the machine will jam.
7. Tension Dial / Regulator
This dial controls the tightness or looseness of the top thread. Proper tension ensures even stitches. Too tight, and the fabric puckers; too loose, and the stitches are messy or uneven.
8. Presser Foot
A presser foot holds the fabric flat as the needle moves through it. There are different feet for different tasks such as zippers, buttonholes, and quilting. It’s interchangeable depending on your sewing need.
9. Presser Foot Lever
This lever raises and lowers the presser foot. It must be lowered before sewing to ensure proper stitching. Some machines have an auto-lift feature.
10. Needle
The needle carries the top thread through the fabric to form stitches. It comes in various sizes and types for different fabrics and uses (e.g., ballpoint for knits, sharp for woven fabrics).
11. Needle Clamp
The needle clamp holds the needle in place. It has a screw that you tighten or loosen when changing the needle.
12. Needle Plate / Throat Plate
Located under the presser foot, this metal plate has holes for the needle and the feed dogs. It often includes measurement markings to help you guide the fabric straight.
13. Feed Dogs
Small metal teeth under the needle plate that help move the fabric forward as you sew. They work with the presser foot to ensure even feeding.
14. Handwheel
Located on the side of the machine, the handwheel allows you to manually raise or lower the needle. Always turn it toward you to avoid jamming the machine.
15. Foot Pedal / Speed Controller
This pedal controls the sewing speed. The harder you press, the faster the machine sews. It’s similar to a gas pedal in a car.
16. Stitch Selector Dial / Touch Panel
This lets you choose from different stitch types like straight, zigzag, or decorative stitches. On computerized machines, it’s often a digital panel.
17. Reverse Stitch Lever / Button
Used to make the machine sew in reverse. It’s essential for locking stitches at the beginning and end of a seam to prevent unraveling.
18. Free Arm
A narrow, cylindrical part of the machine that makes it easier to sew small, round pieces like sleeves or pant hems. You usually access it by removing part of the sewing bed.
19. Extension Table / Sewing Bed
An additional flat surface that extends the sewing area. It’s useful for quilting and handling large fabric pieces.
20. Drop Feed Lever
This lowers the feed dogs for free-motion sewing or embroidery. Useful when you want full control over fabric movement.
21. Thread Cutter
A small built-in blade on the machine that quickly cuts thread. Some advanced models offer automatic thread cutting.
22. Stitch Length Dial
Controls the length of each stitch. Use longer stitches for basting or topstitching, and shorter ones for tighter seams.
23. Stitch Width Dial
Adjusts how wide a stitch pattern is, mainly for zigzag or decorative stitches.
24. Buttonhole Maker
A function or setting that helps you sew even and clean buttonholes, either in one step or four steps, depending on your machine.
25. LCD/Touchscreen Display
Present in computerized machines, this screen shows your current stitch settings, length, width, and error messages. Some even offer on-screen tutorials.
26. Sewing Light
Built-in LED or bulb that lights up the sewing area. Crucial for seeing details clearly.
27. Power Switch / Plug Port
Turns the machine on or off. Also, where you plug in the foot pedal and power cord.
28. Upper Thread Tension Discs
Internal components that apply tension to the upper thread. Controlled by the tension dial.
29. Needle Bar
The metal rod that moves up and down, holding the needle and controlling its motion.
30. Face Plate
Removable cover that provides access to the needle bar and inner mechanisms for cleaning and maintenance.
31. Lubrication Ports / Oil Points
Designated spots on mechanical machines for applying sewing machine oil. Keeps parts moving smoothly.
32. Machine Cover / Case
Protects your sewing machine from dust and damage when not in use. May be hard-shell or soft fabric.
👉 Read our full review of the top sewing machine picks just for you — click here to explore!
# | Product | Title | Rating | |
1 | 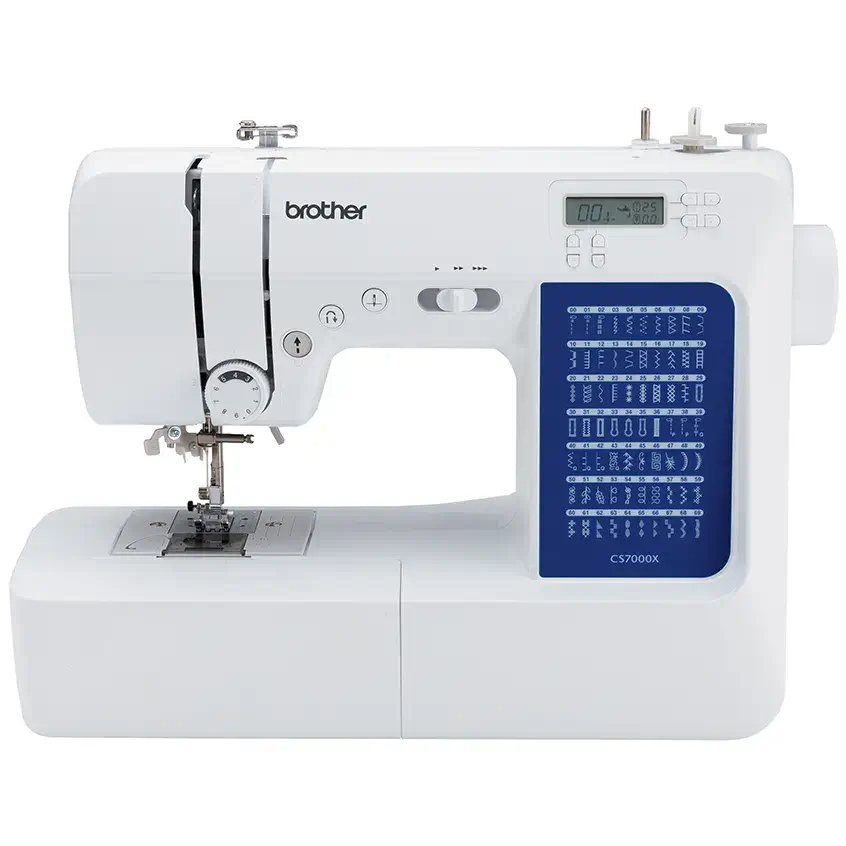 | Best Overall: | ||
2 | 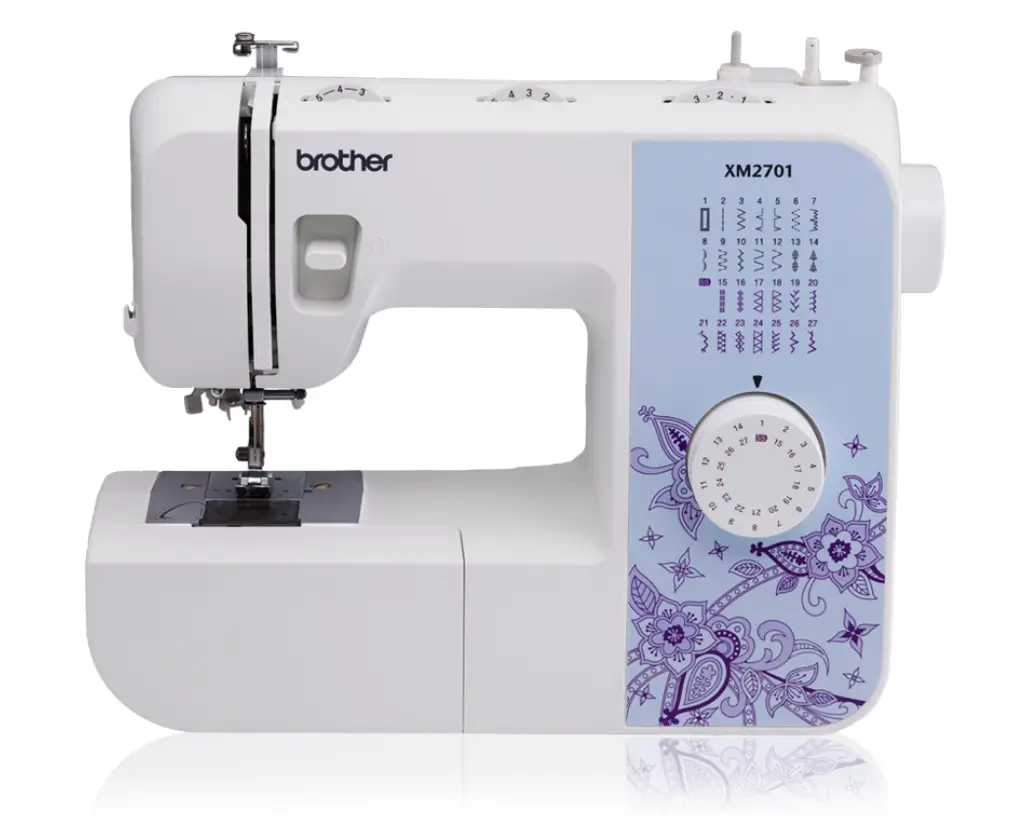 | Best for Beginners: | ||
3 | 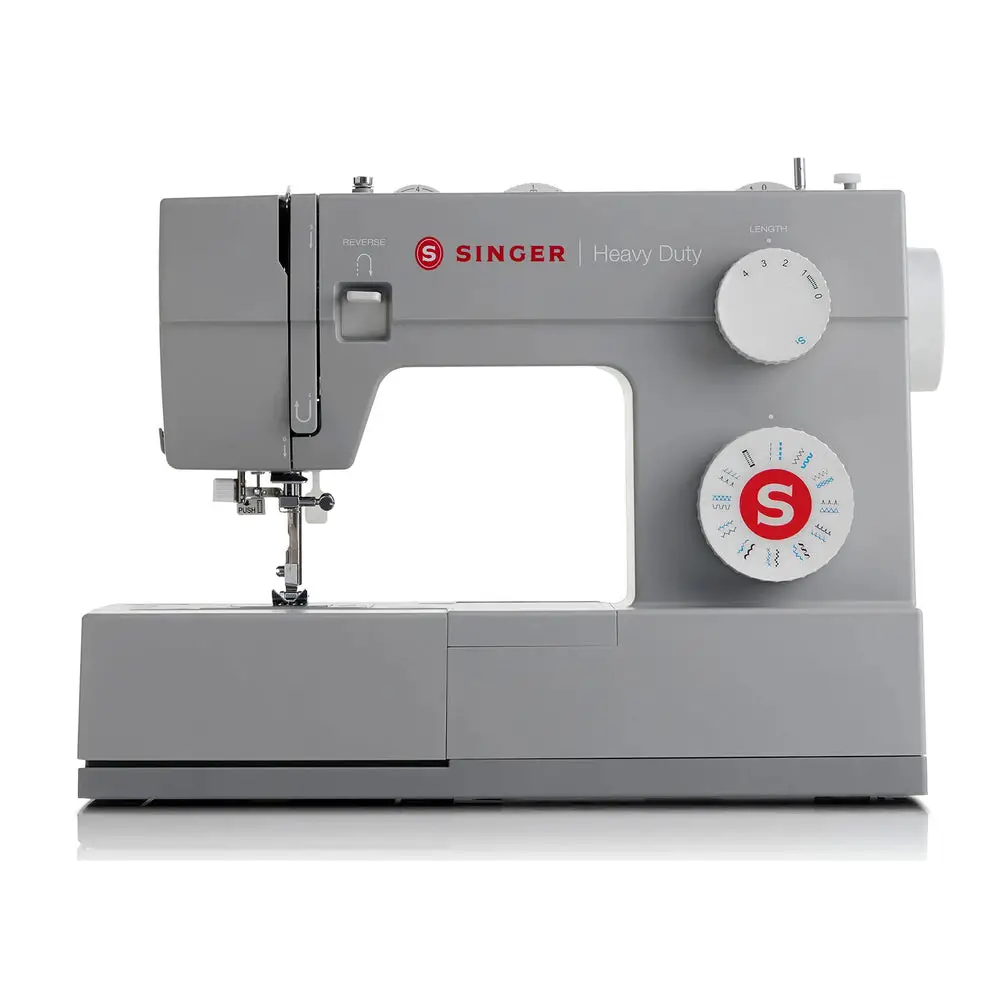 | Best Budget: | ||
4 | 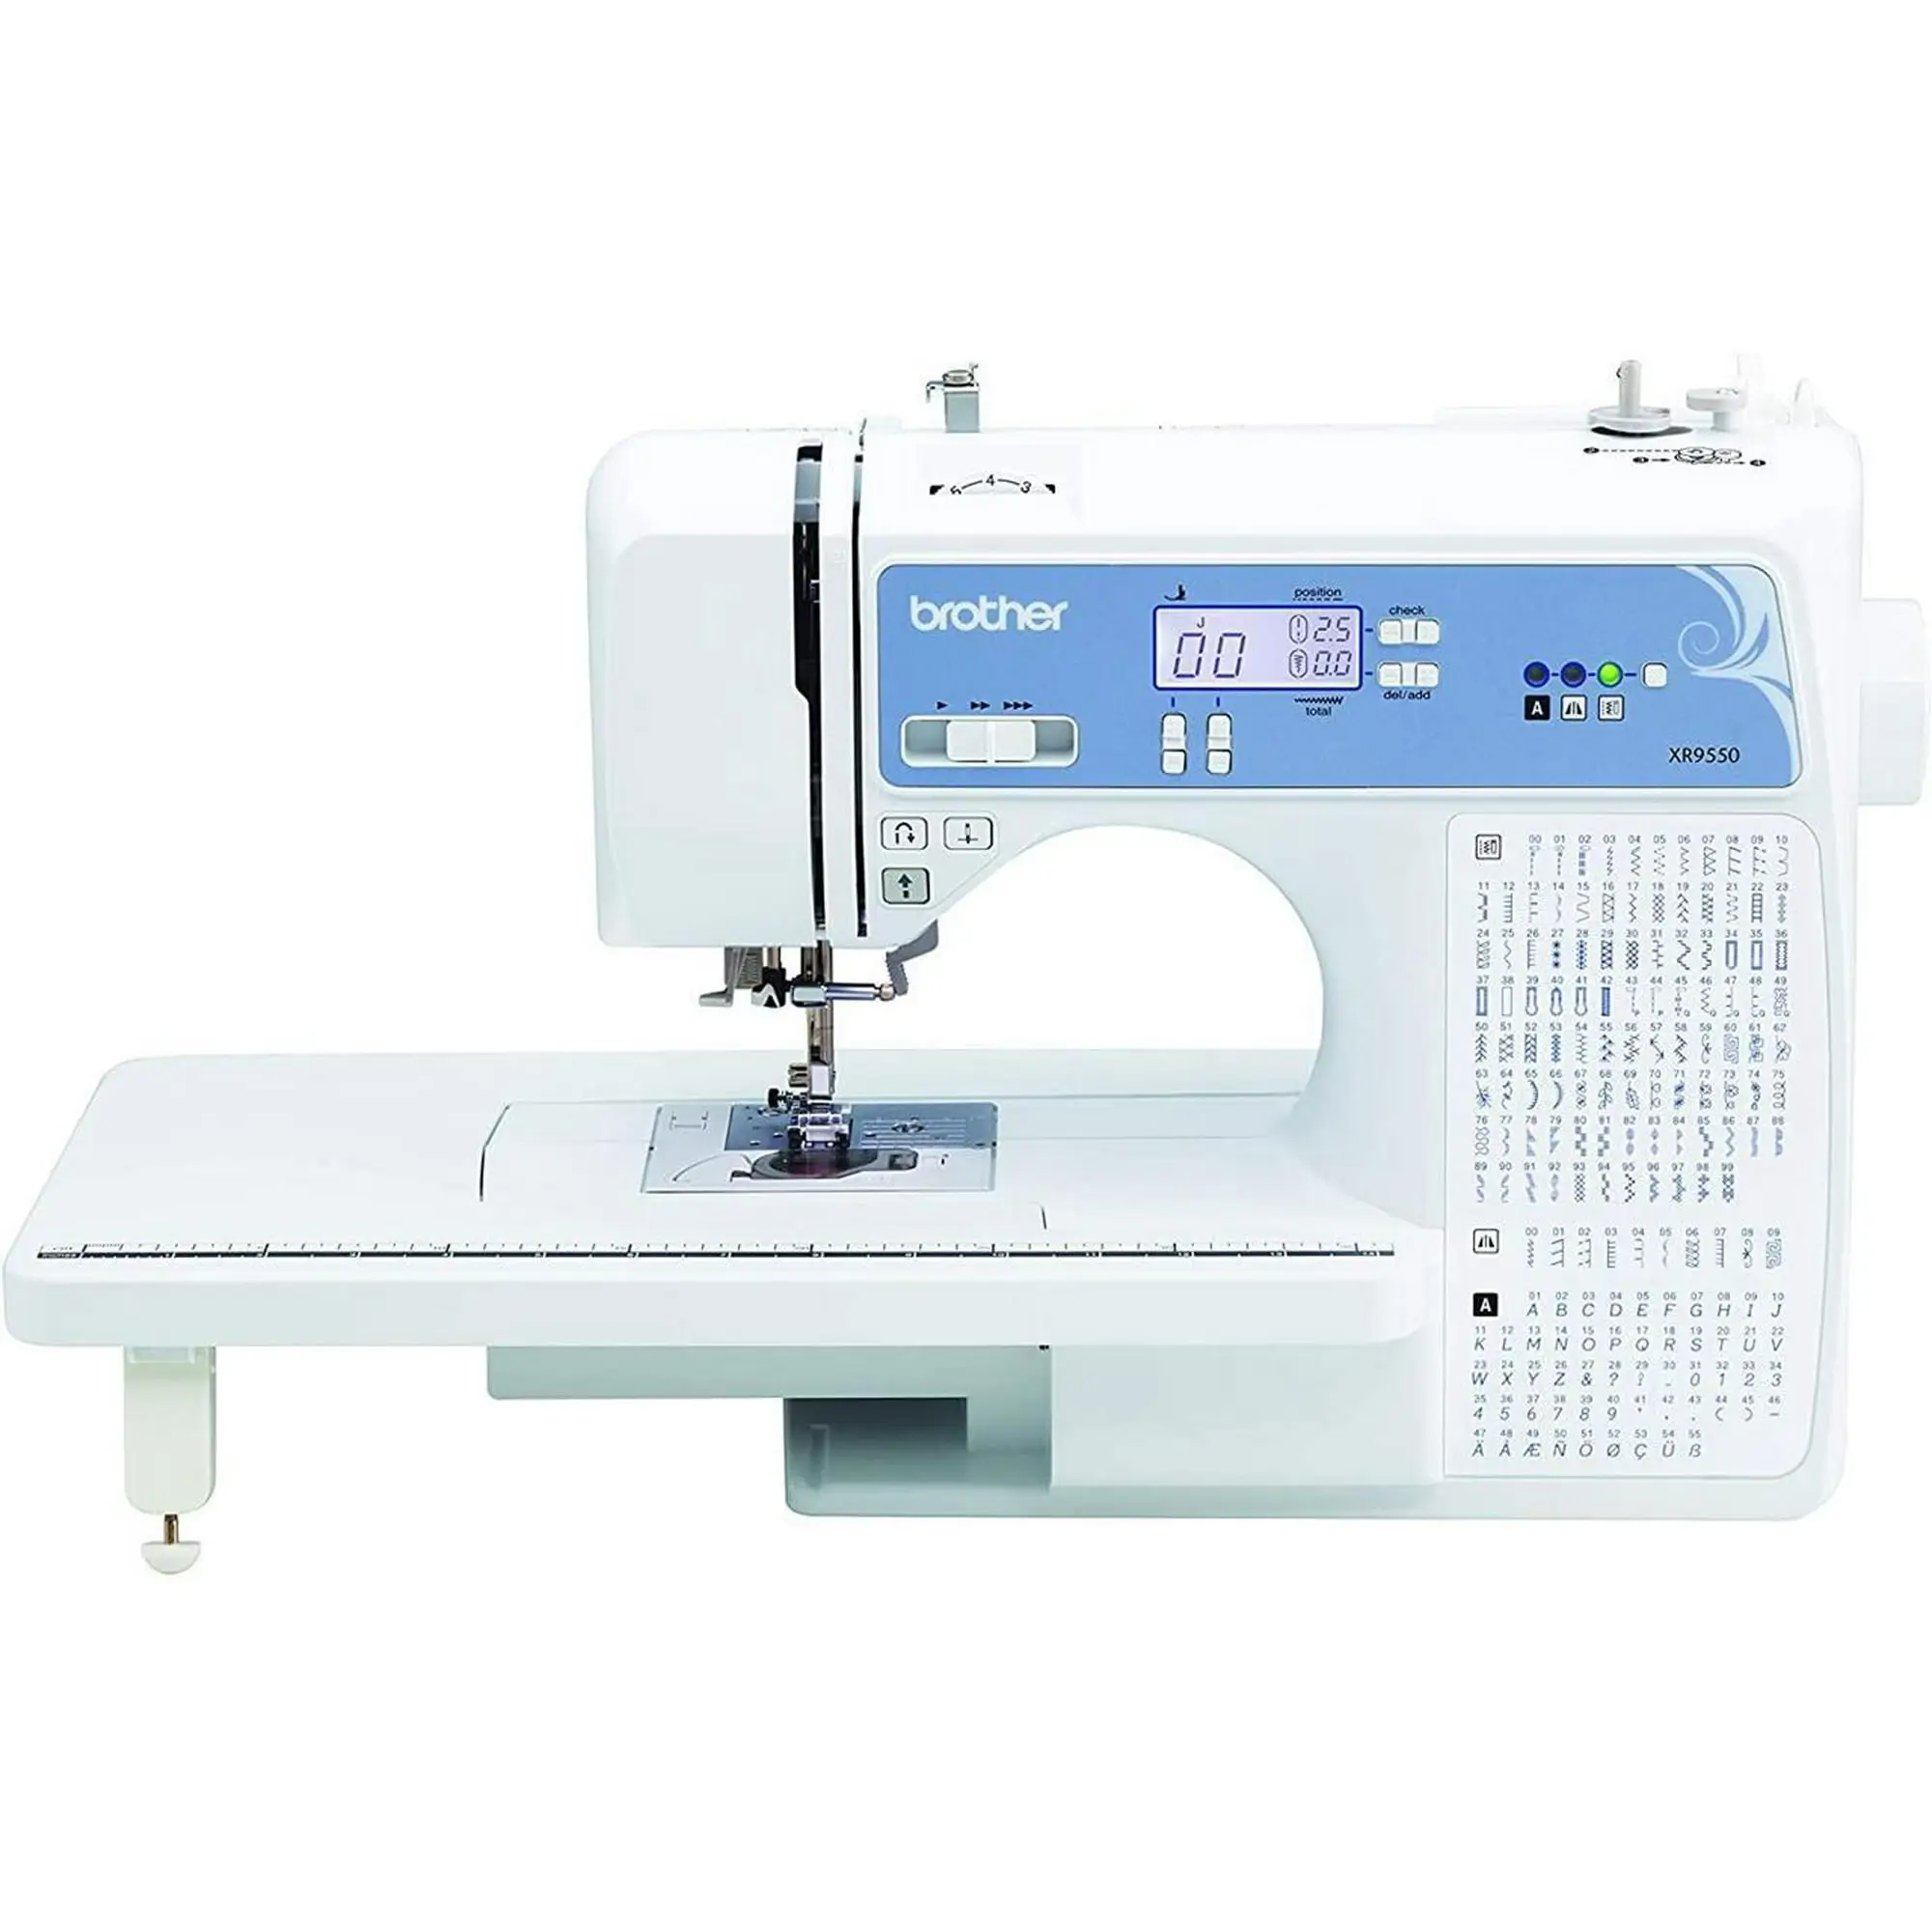 | Best Mid-Range: | ||
5 | 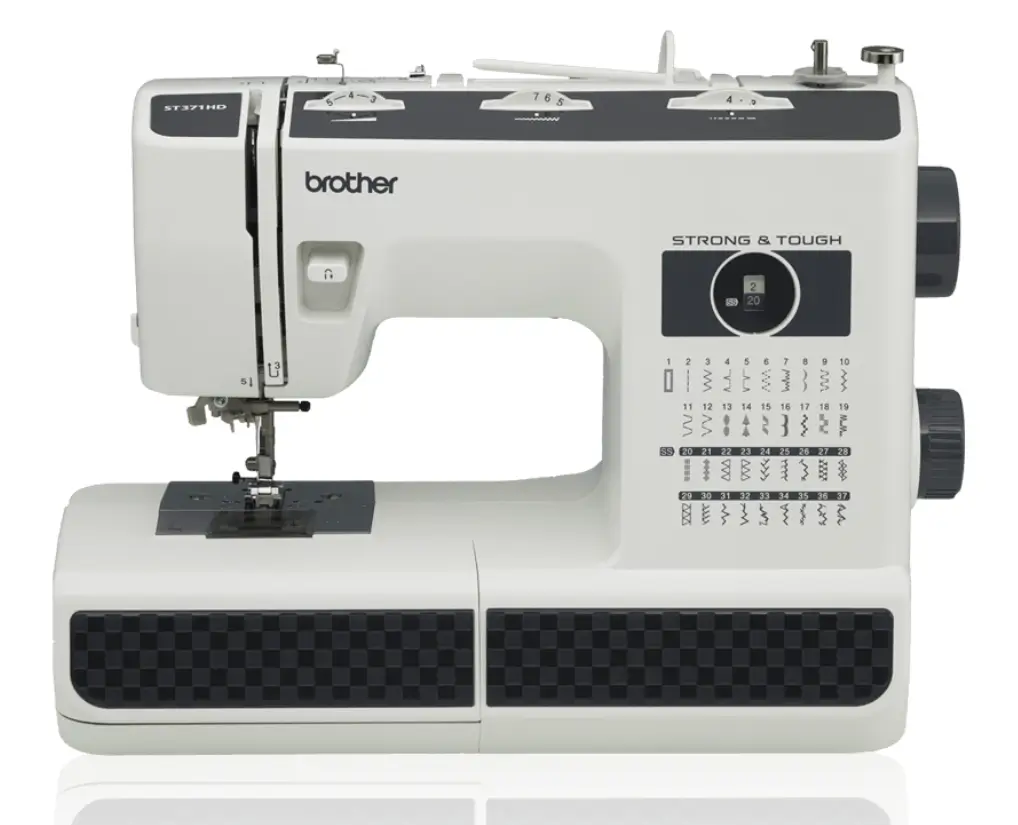 | Best for Heavy-Duty: | ||
6 | 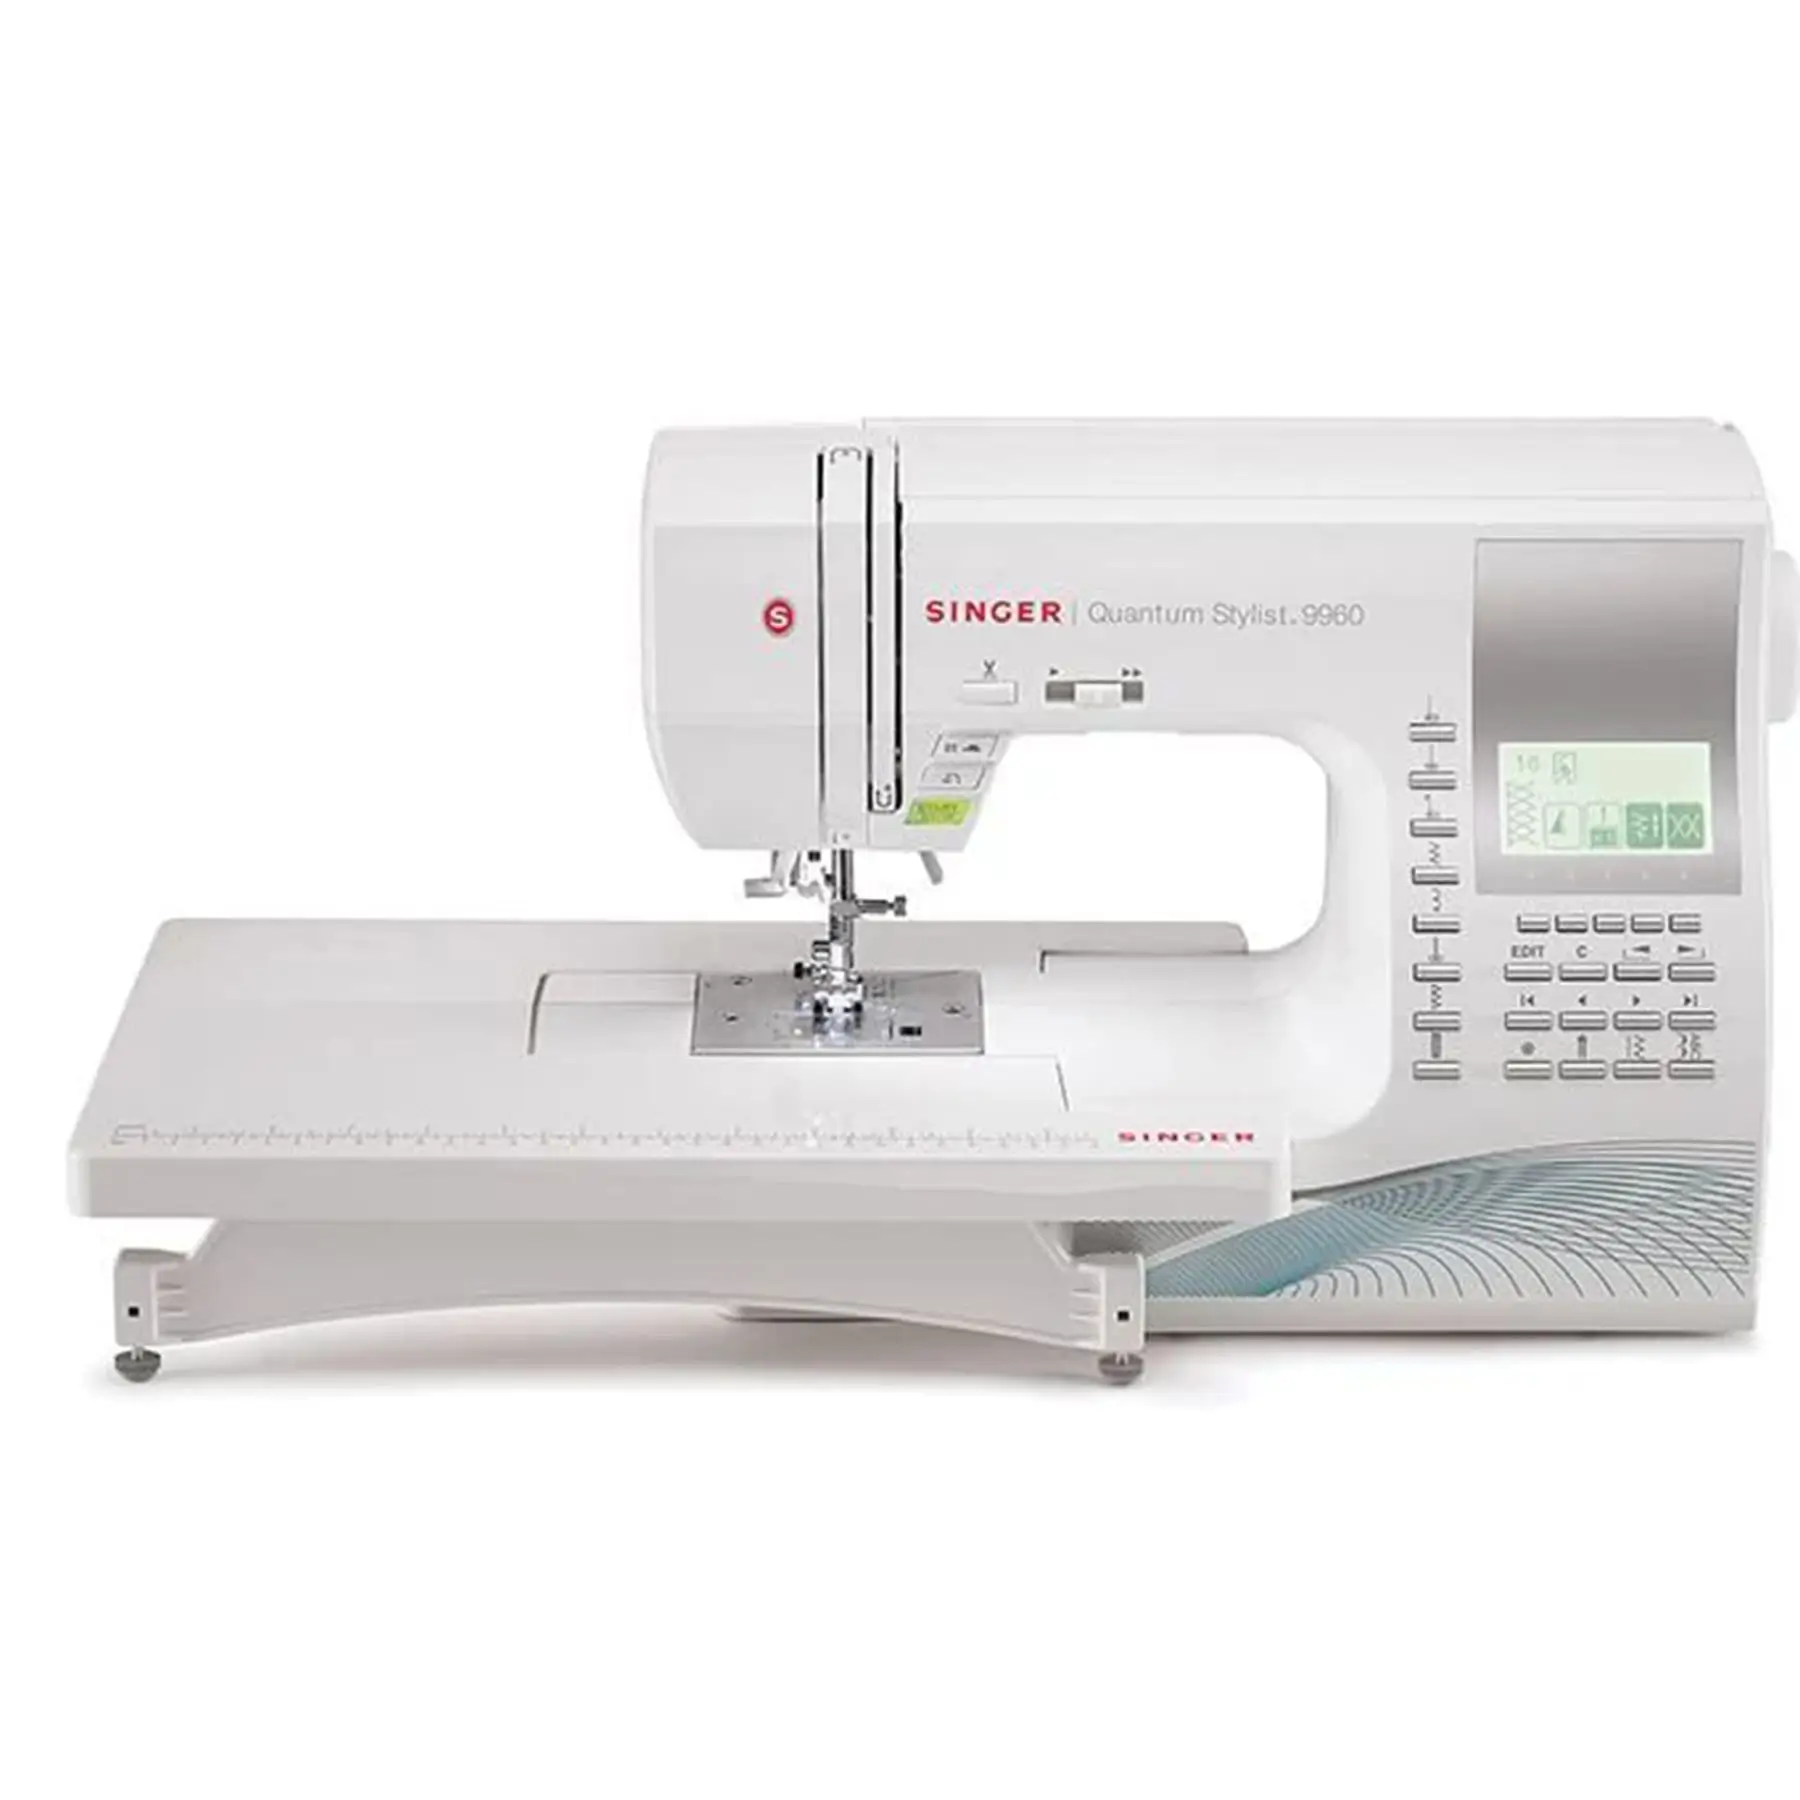 | Best for Clothes and Quilting: | ||
7 | 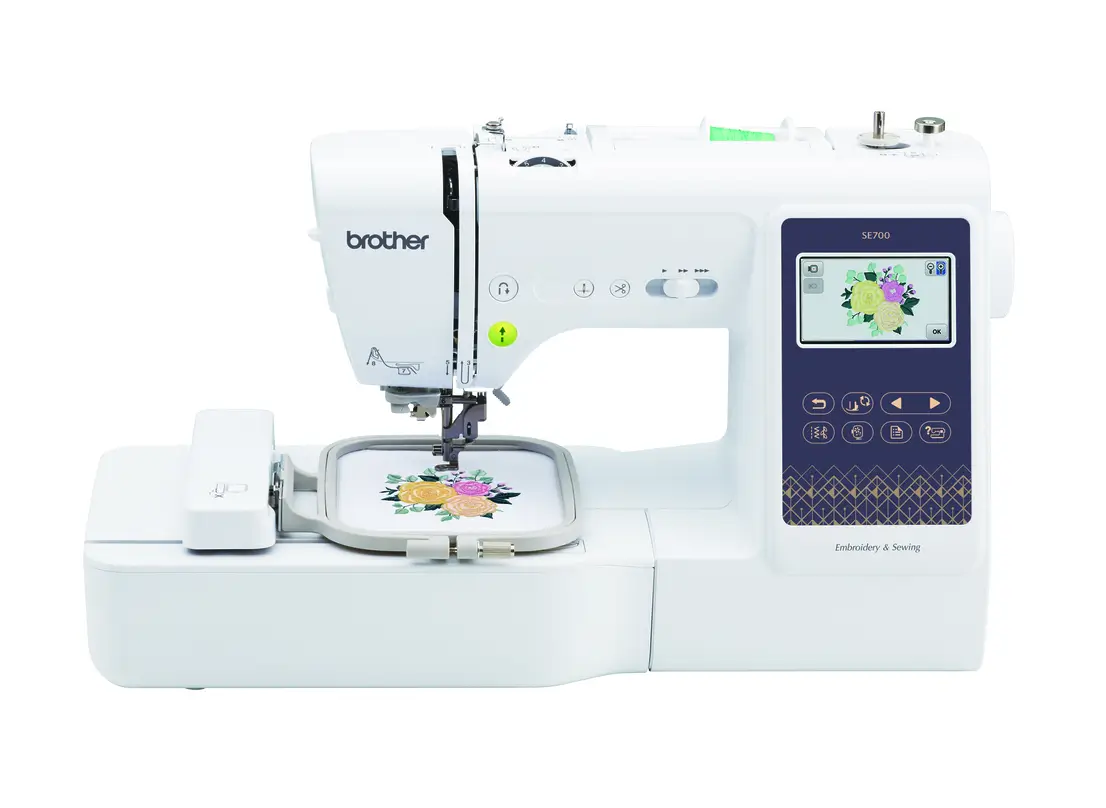 | Best Home Sewing Embroidery: | ||
8 | 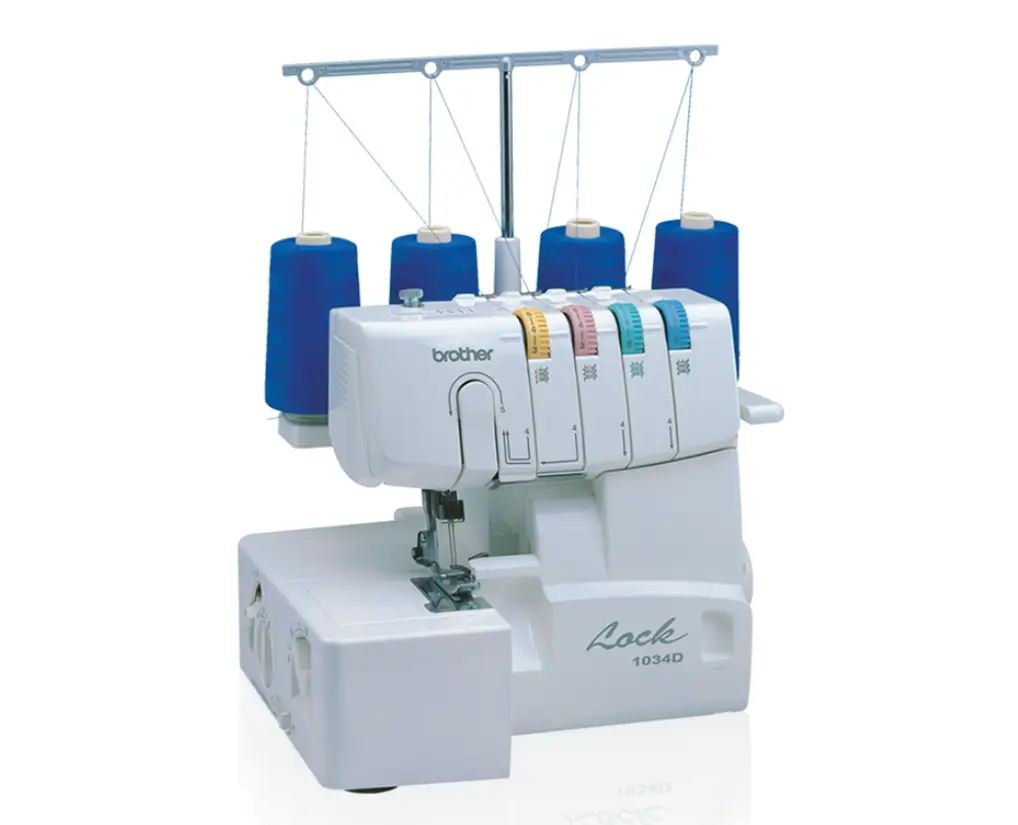 | Best Serger: | ||
9 | 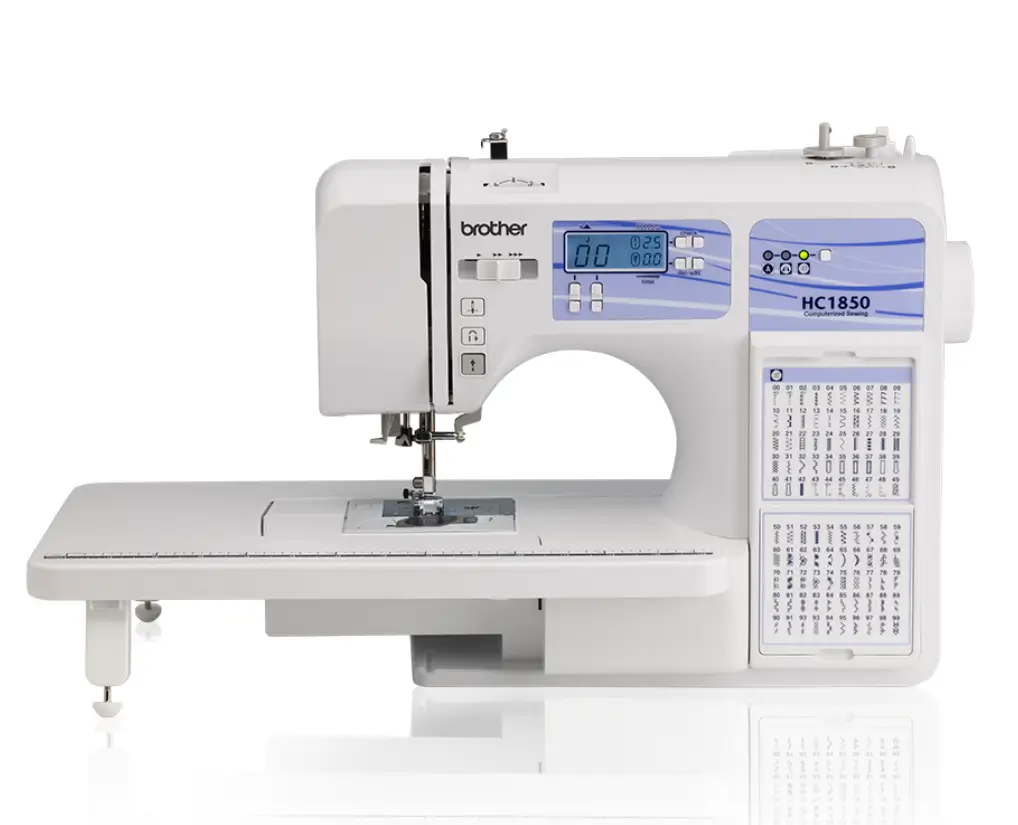 | We Also Like (Overall): | ||
10 | 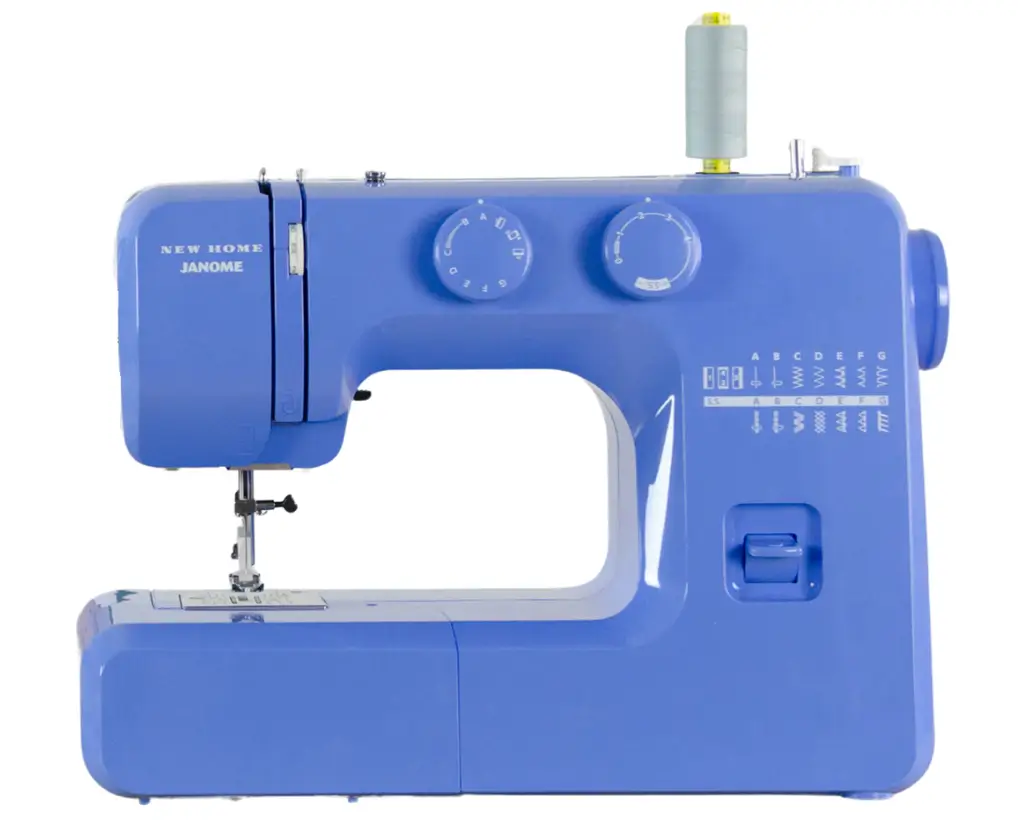 | We Also Like (Budget): |
🔚 Final Thoughts
Knowing these sewing machine terms will help you sew with confidence, troubleshoot problems faster, and get the most out of your equipment. As you practice, these parts will become second nature.
Want diagrams and visual examples? Visit us at StitchingLab.com for tutorials, printable guides, and beginner-friendly sewing resources!
Related posts
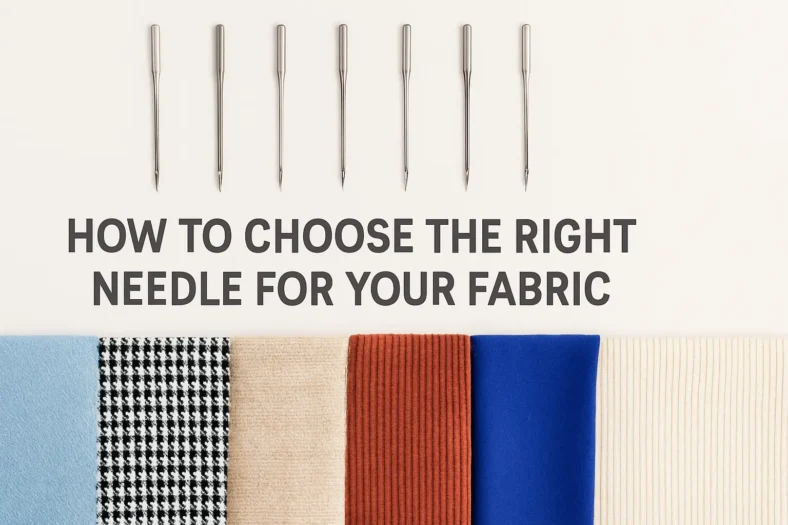

Table of Contents
- 1 Table of Contents 👇🏻(Show)
- 2 1. Bobbin
- 3 2. Bobbin Case
- 4 3. Bobbin Winder
- 5 4. Spool Pin
- 6 5. Thread Guide
- 7 6. Take-Up Lever
- 8 7. Tension Dial / Regulator
- 9 8. Presser Foot
- 10 9. Presser Foot Lever
- 11 10. Needle
- 12 11. Needle Clamp
- 13 12. Needle Plate / Throat Plate
- 14 13. Feed Dogs
- 15 14. Handwheel
- 16 15. Foot Pedal / Speed Controller
- 17 16. Stitch Selector Dial / Touch Panel
- 18 17. Reverse Stitch Lever / Button
- 19 18. Free Arm
- 20 19. Extension Table / Sewing Bed
- 21 20. Drop Feed Lever
- 22 21. Thread Cutter
- 23 22. Stitch Length Dial
- 24 23. Stitch Width Dial
- 25 24. Buttonhole Maker
- 26 25. LCD/Touchscreen Display
- 27 26. Sewing Light
- 28 27. Power Switch / Plug Port
- 29 28. Upper Thread Tension Discs
- 30 29. Needle Bar
- 31 30. Face Plate
- 32 31. Lubrication Ports / Oil Points
- 33 32. Machine Cover / Case
- 34 🔚 Final Thoughts


